This post may contain affiliate links, please read my disclosure policy for details.
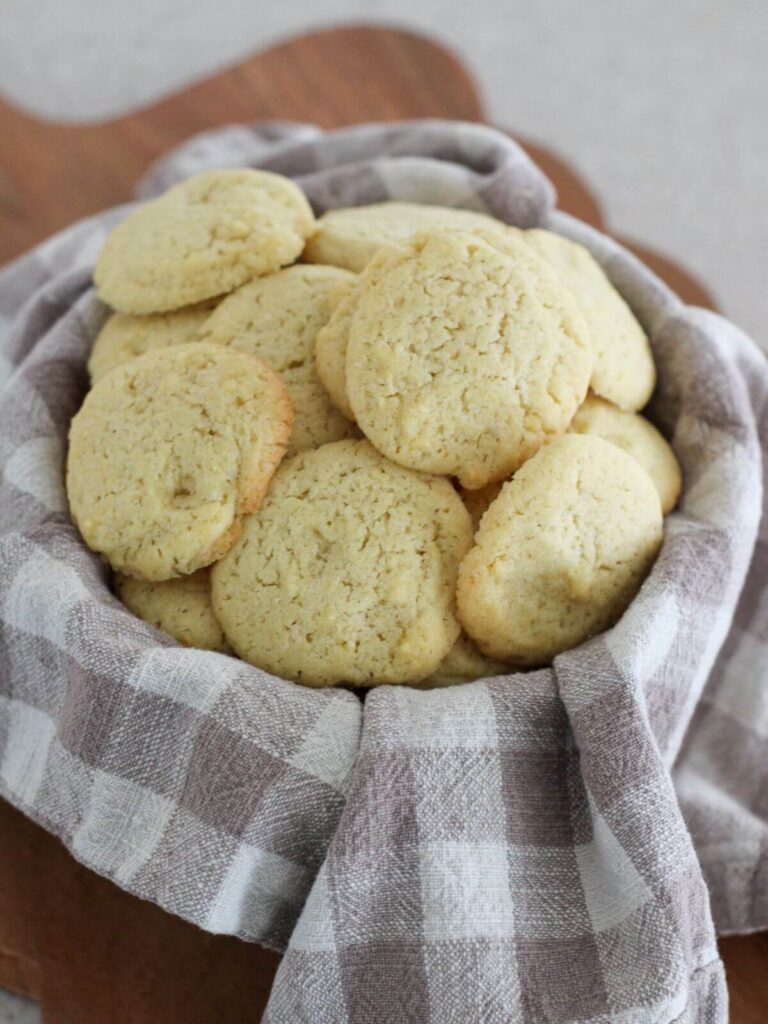
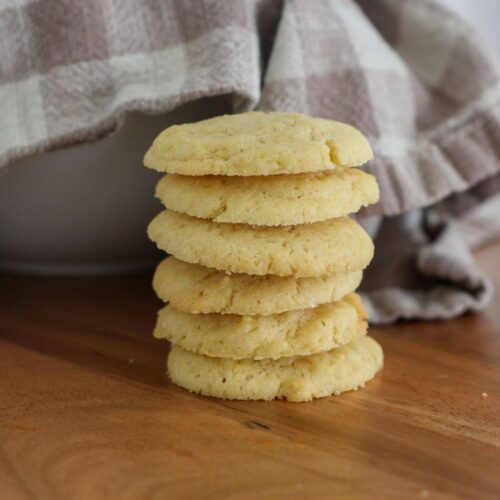
Healthier homemade vanilla wafers are the perfect from-scratch alternative to store-bought cookies, made with simple pantry ingredients and no artificial additives. These crispy, buttery vanilla wafers deliver classic flavor your family loves — just made with real, wholesome ingredients.

I created this recipe because of a moment with my kids at the grocery store. We were going down the snack aisle and my oldest saw these cookie and begged me to buy them. While I wanted to say yes, I couldn’t ignore the processed ingredients in the boxed version. Inspired to give them the treat they love without compromising on quality, I came up with a recipe that’s not only healthier but just as tasty and fun to make together at home.
With just a few pantry staples and healthier swaps, I created a version of this classic cookie that’s free from preservatives, artificial flavors, and refined sugars. Plus, they’re just as delicious and crispy as the ones you’ll find in a box.
Why You’ll Love These Healthier Vanilla Wafers
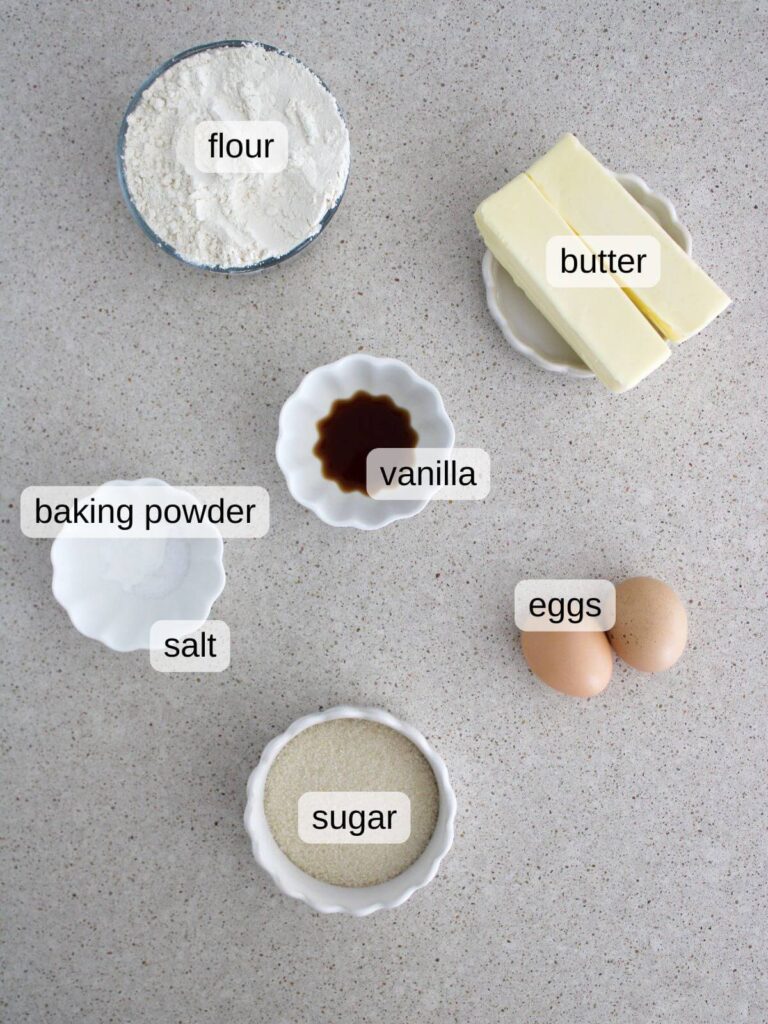
Ingredients You’ll Need
How to Make Healthier Homemade Vanilla Wafers
Please see the recipe card at the bottom of this post for the full recipe details.
1. Preheat Your Oven: Preheat to 350°F (175°C). Line a baking sheet with parchment paper.
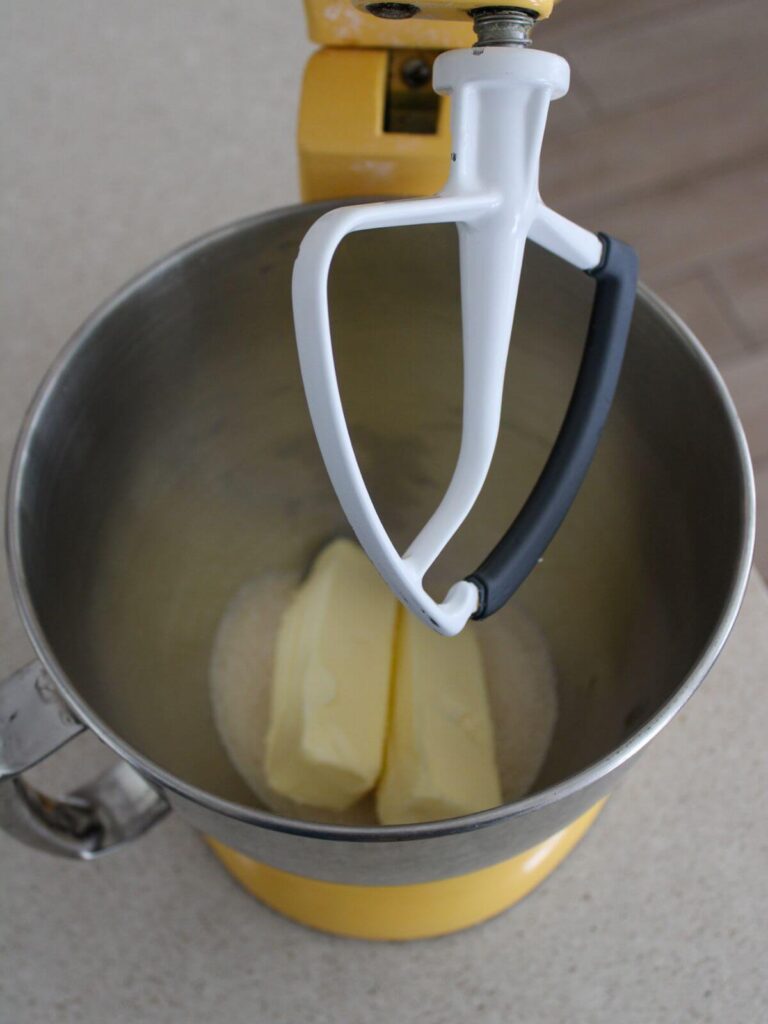
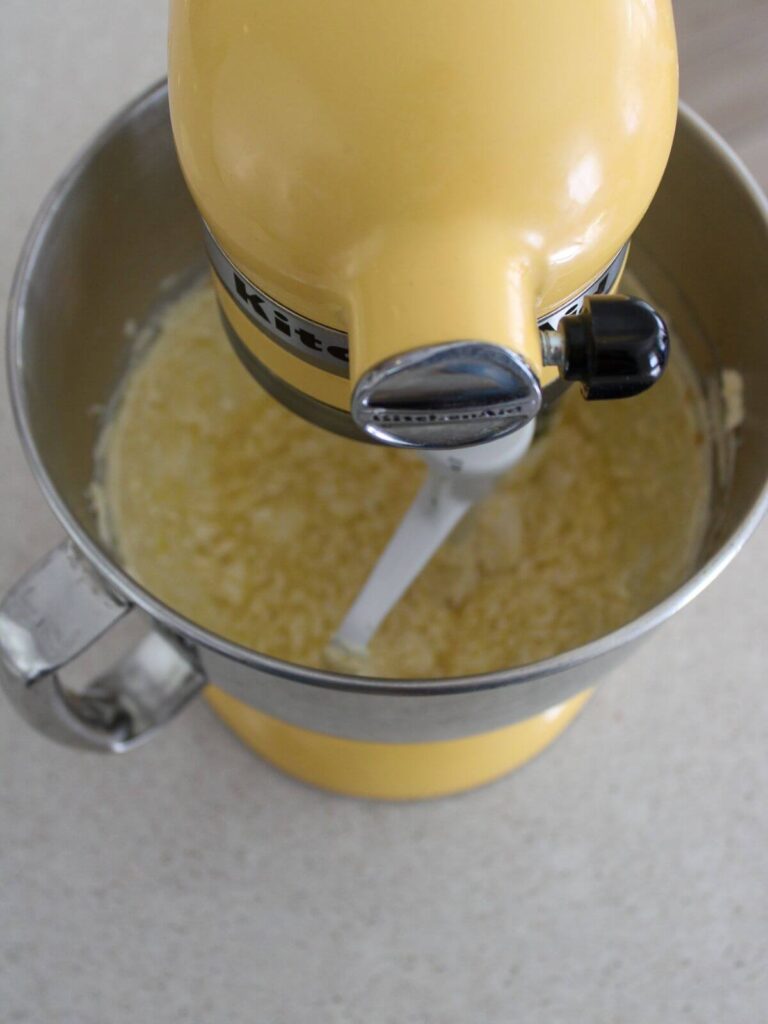
2. Cream Butter and Sugar
Beat butter and cane sugar together for 2–3 minutes until light and fluffy.
3. Add Eggs and Vanilla
Mix in eggs one at a time, then stir in pure vanilla extract.
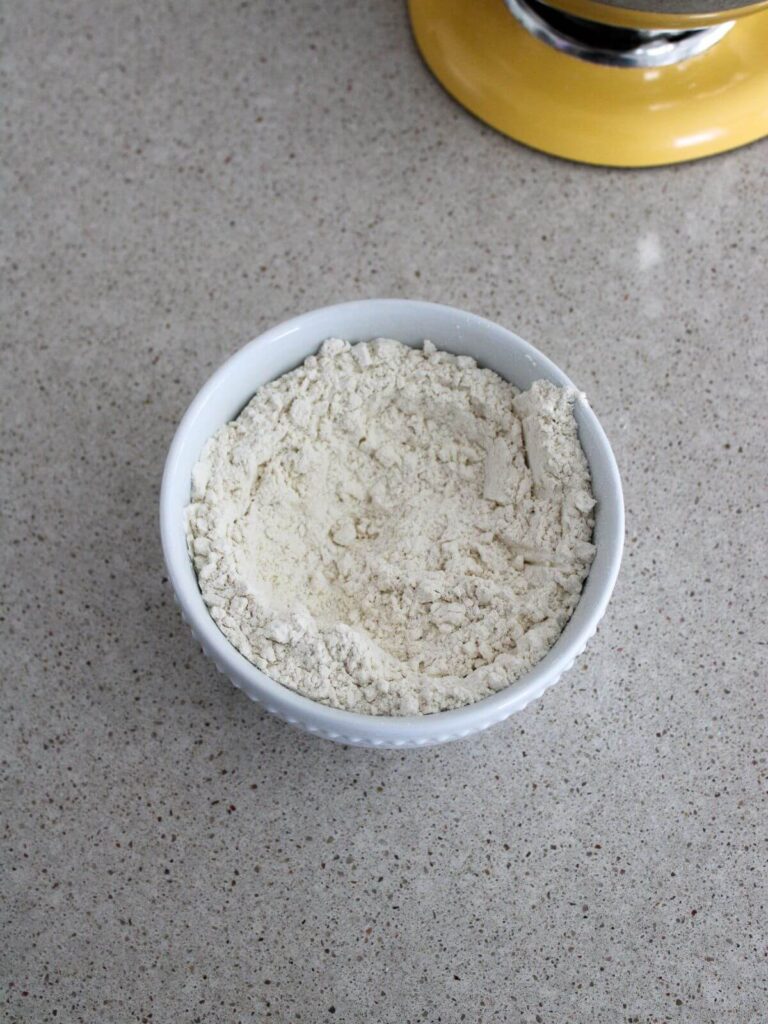
4. Combine Dry Ingredients
In a separate bowl, whisk flour, baking powder, and sea salt.
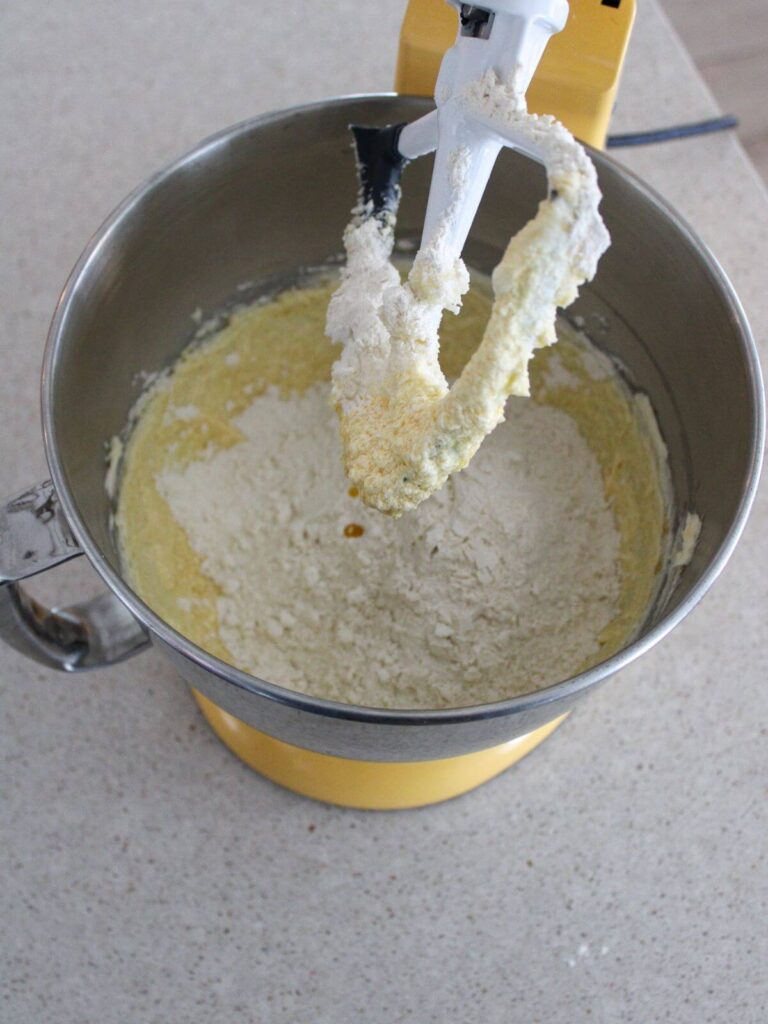
5. Mix Together
Slowly add dry ingredients to wet ingredients. Mix just until combined. Do not overmix.
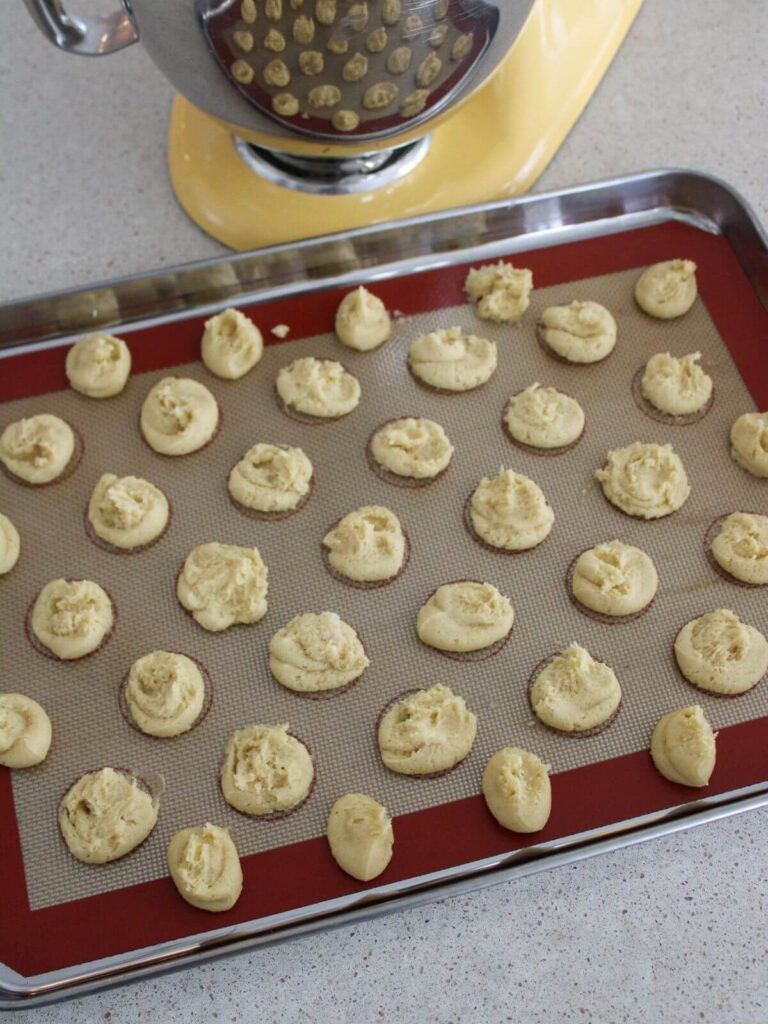
6. Scoop and Flatten
Use a small cookie scoop or teaspoon. Drop onto prepared sheet and gently flatten.
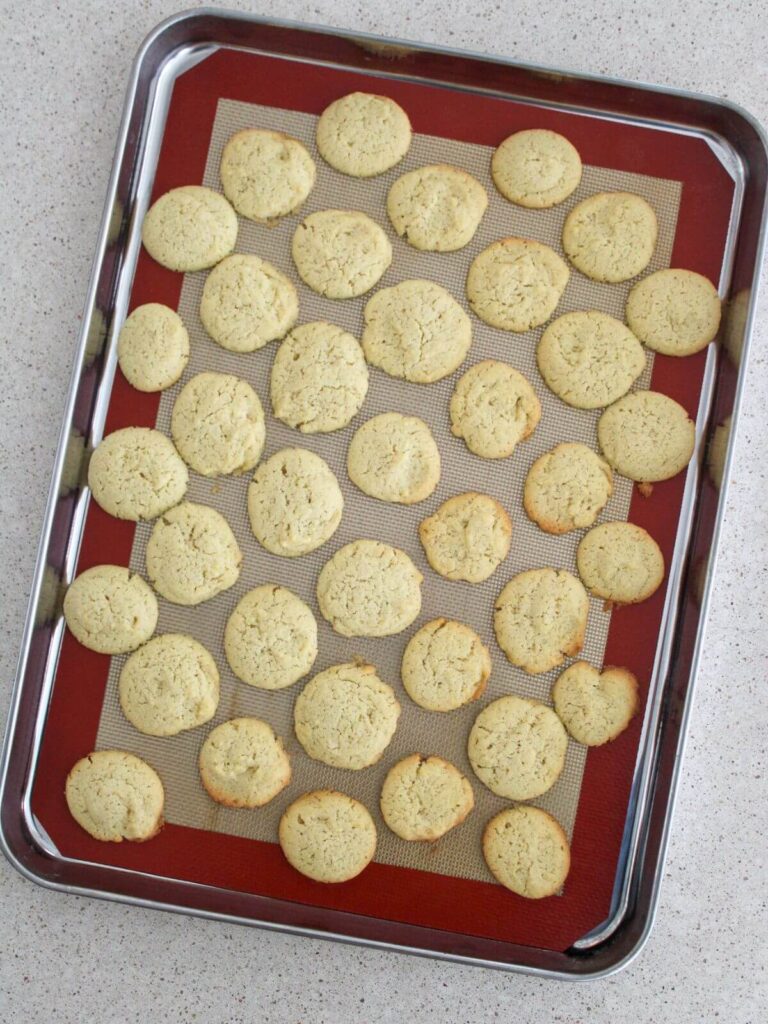
7. Bake
Bake 10–12 minutes, until edges are lightly golden. For crispier wafers, bake an additional 1–2 minutes.
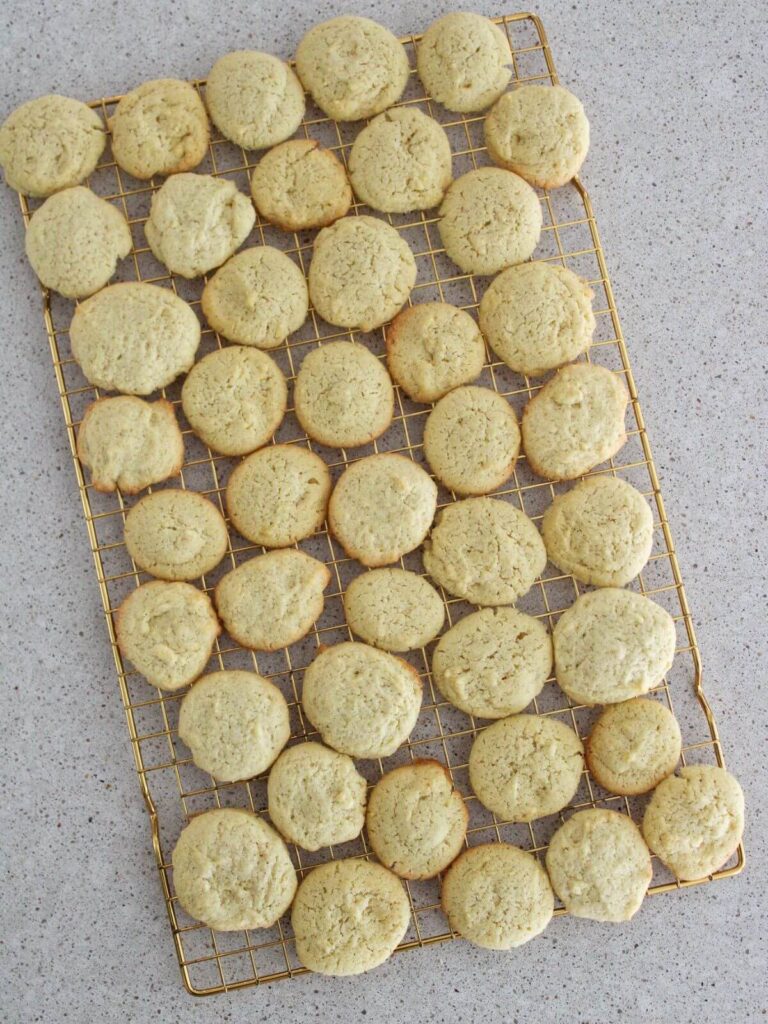
8. Cool Completely
Let cool fully on a wire rack. They crisp up as they cool.
Recipe Tips
Cream the butter and sugar thoroughly as this gives your vanilla wafers their light, delicate texture. Don’t rush it.
Do not skip flattening the dough it ensures even baking and helps create that classic wafer shape and crisp edge.
Bake slightly longer for extra crunch by adding 1–2 extra minutes until the edges are golden.
Let the cookies cool completely before storing as they will continue to crisp as they cool, so this step is key for the perfect texture.
Store in an airtight container to keep your homemade vanilla wafers fresh and maintains their crispness for days.
How to Store Vanilla Wafers
Room Temperature
Store vanilla wafers in an airtight container at room temperature for up to 5–7 days. Make sure the cookies are completely cooled before sealing to prevent trapped moisture.
Freezer Storage
To freeze homemade vanilla wafers, place them in a freezer-safe bag or airtight container and store for up to 3 months. Thaw at room temperature before serving.
How to Keep Vanilla Wafers Crispy
To maintain that classic crispy texture, place a small piece of parchment paper inside the container to help absorb excess moisture. If the cookies soften slightly, re-crisp them in a 300°F oven for 2–3 minutes.
Serving Suggestions
- Layer into banana pudding — The wafers soften beautifully and give that classic, nostalgic flavor everyone loves.
- Crush for a simple pie or cheesecake crust — Homemade crumbs add richer flavor than anything from a box.
- Serve with milk or hot chocolate — Sometimes the simplest pairing feels the most special.
- Add to yogurt parfaits — A little crunch and sweetness makes an everyday snack feel homemade and intentional.
- Pack in lunchboxes — A better-for-you homemade treat always feels like love tucked inside.
Frequently Asked Questions
More Homemade Snacks You’ll Love
Healthier Homemade Vanilla Wafers
Ingredients
- 1 cup butter softened
- 3/4 cup cane sugar
- 2 large eggs
- 1 tablespoon pure vanilla extract
- 2 cups all-purpose flour
- 1 teaspoon baking powder
- 1/2 teaspoon sea salt
Instructions
- Preheat the oven to 350°F (175°C). Line a baking sheet with parchment paper.
- In a large bowl, beat softened butter and cane sugar together for 2–3 minutes until light and fluffy.
- Mix in eggs one at a time, then stir in pure vanilla extract.
- In a separate bowl, whisk together flour, baking powder, and sea salt.
- Gradually add dry ingredients to the butter mixture. Mix until just combined. Do not overmix.
- Drop teaspoon-sized portions onto prepared baking sheet. Gently flatten each cookie with the back of a spoon.
- Bake for 10–12 minutes, or until edges are lightly golden. For extra crispy vanilla wafers, bake an additional 1–2 minutes.
- Allow cookies to cool on the baking sheet for 3–5 minutes before transferring to a wire rack. Let cool fully to crisp.
Notes
- For crispier vanilla wafers, bake slightly longer and allow to cool completely.
- Cream the butter and sugar well.
- Use a high-quality vanilla extract or vanilla bean paste.
Did you make this recipe?
I’d love to see! Tag @simplychelseahome on Instagram and leave a comment below!!