This post may contain affiliate links, please read my disclosure policy for details.
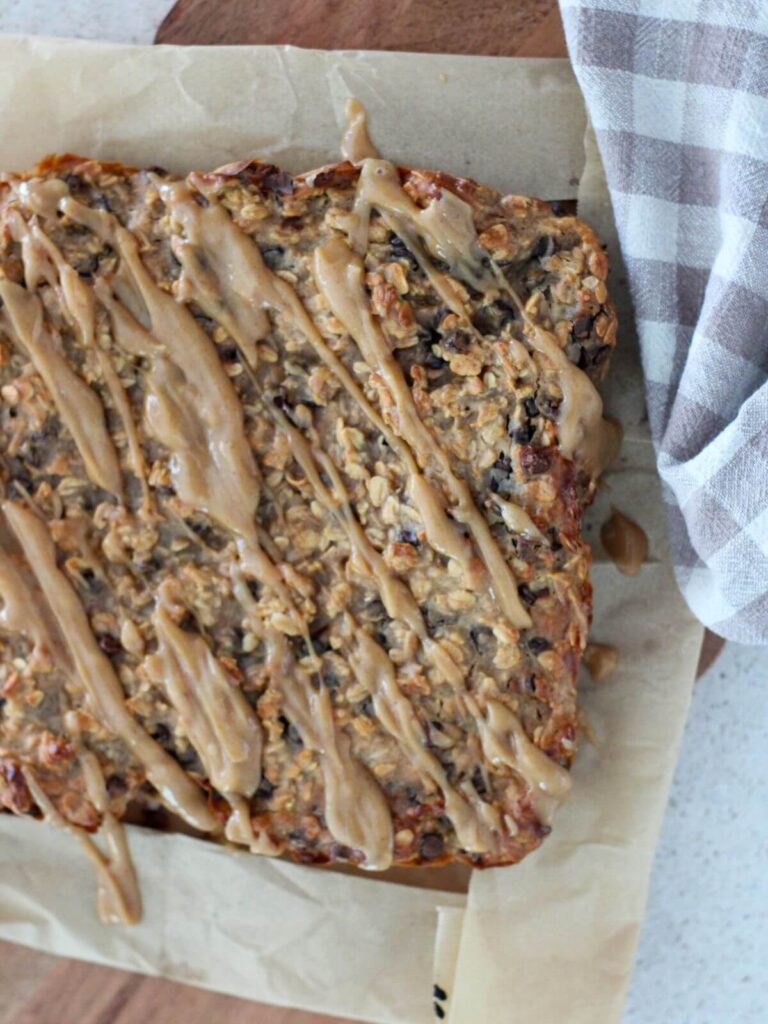
Homemade Gut-Friendly Marshmallows are easier to make than you might think—and they taste so much better than store-bought! These marshmallows are crafted with nourishing ingredients, making them a wholesome treat for your family.

When I first started making homemade marshmallows, I wanted something simple, cozy, and made with ingredients I already had in my pantry—nothing fussy, nothing artificial. Just real, nourishing sweetness for my family. That’s how this gut-friendly version was born. You can keep it beautifully natural with maple syrup or go with classic cane sugar (my kids’ favorite—of course!). Either way, you’ll get delicious, fluffy marshmallows you can feel great about serving the people you love.
Why You’ll Love This Recipe
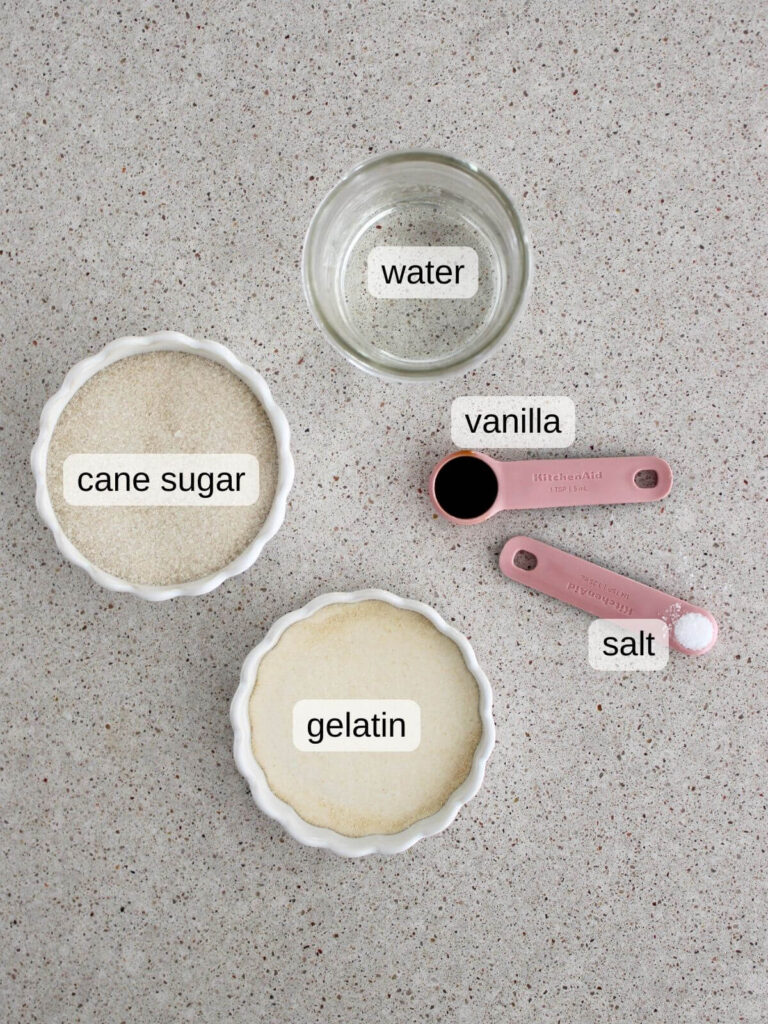
Ingredients Breakdown
How to Make Gut-Friendly Marshmallows
Please see the recipe card at the bottom of this post for the full recipe details.
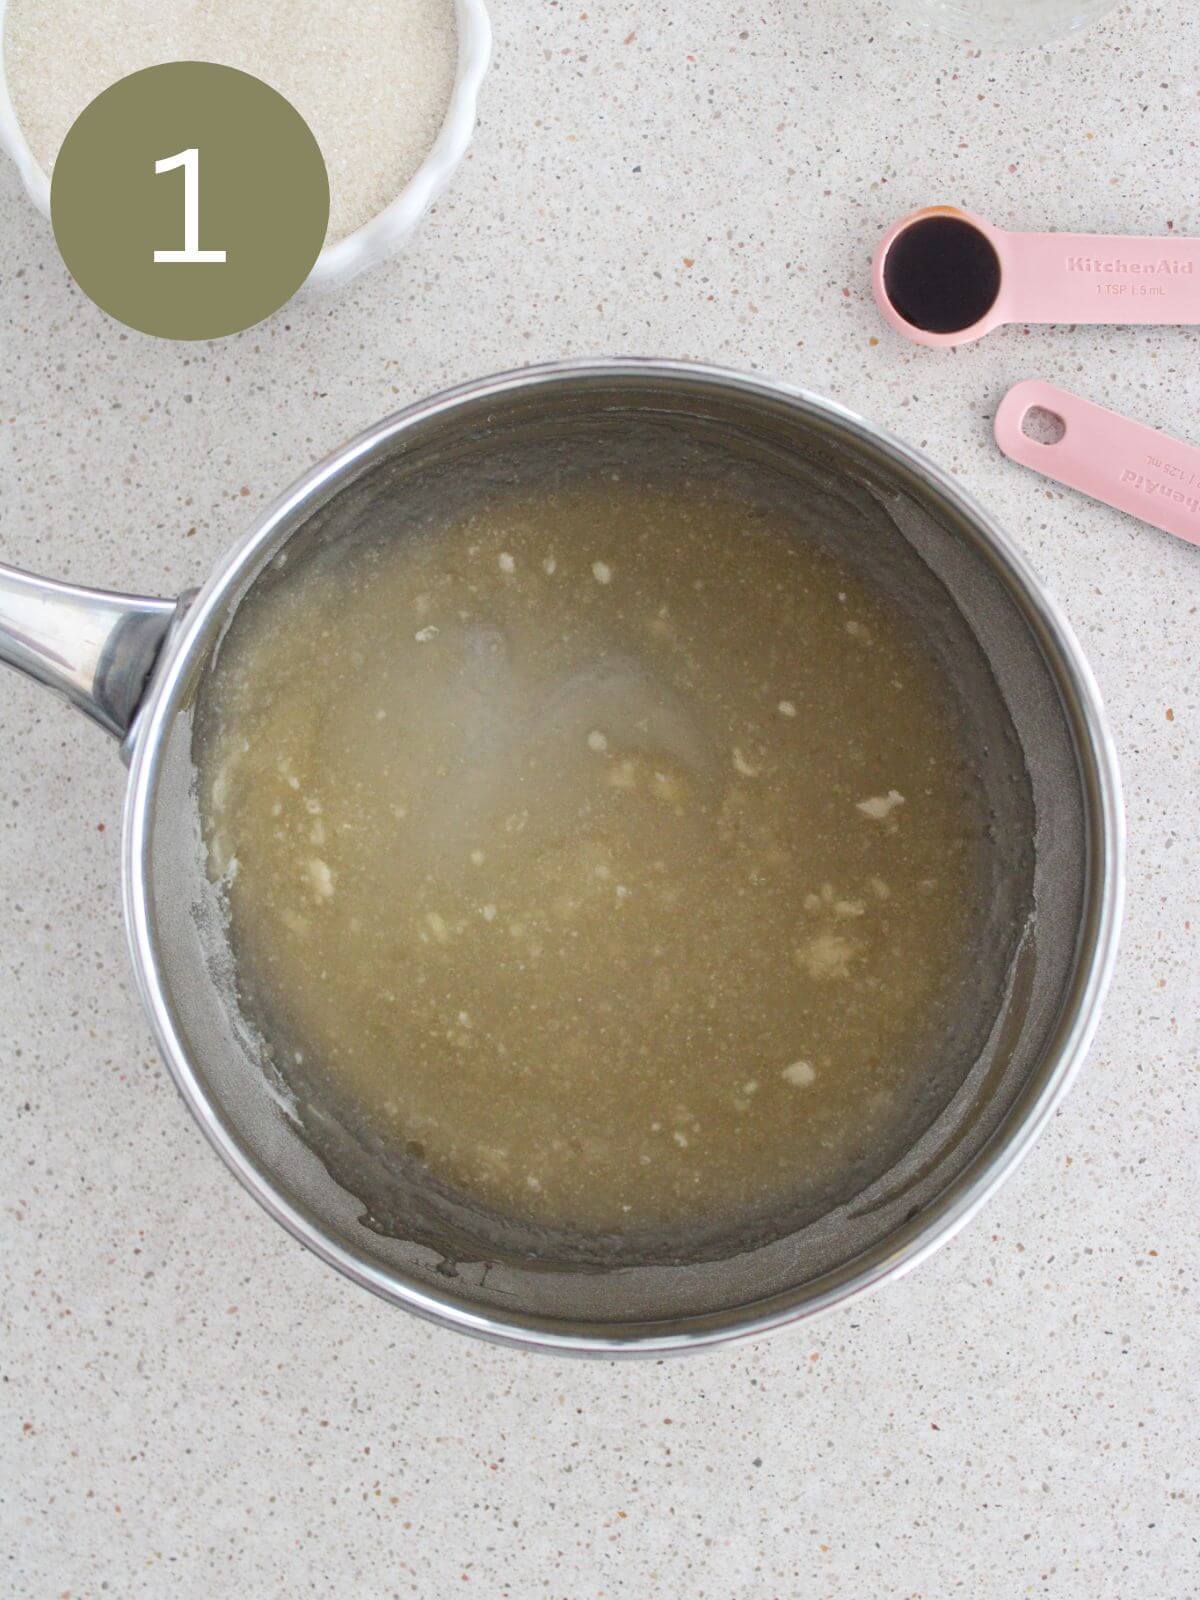

- In a medium saucepan, whisk the water and gelatin together, then let it sit for 5–10 minutes. This little pause allows the gelatin to bloom and makes all the difference in getting that fluffy, dreamy marshmallow texture—so don’t skip it!
- Heat the mixture in your saucepan over medium heat until it becomes liquid. Add your sugar (or maple syrup) and salt, then whisk until everything is fully dissolved and smooth with no lumps.
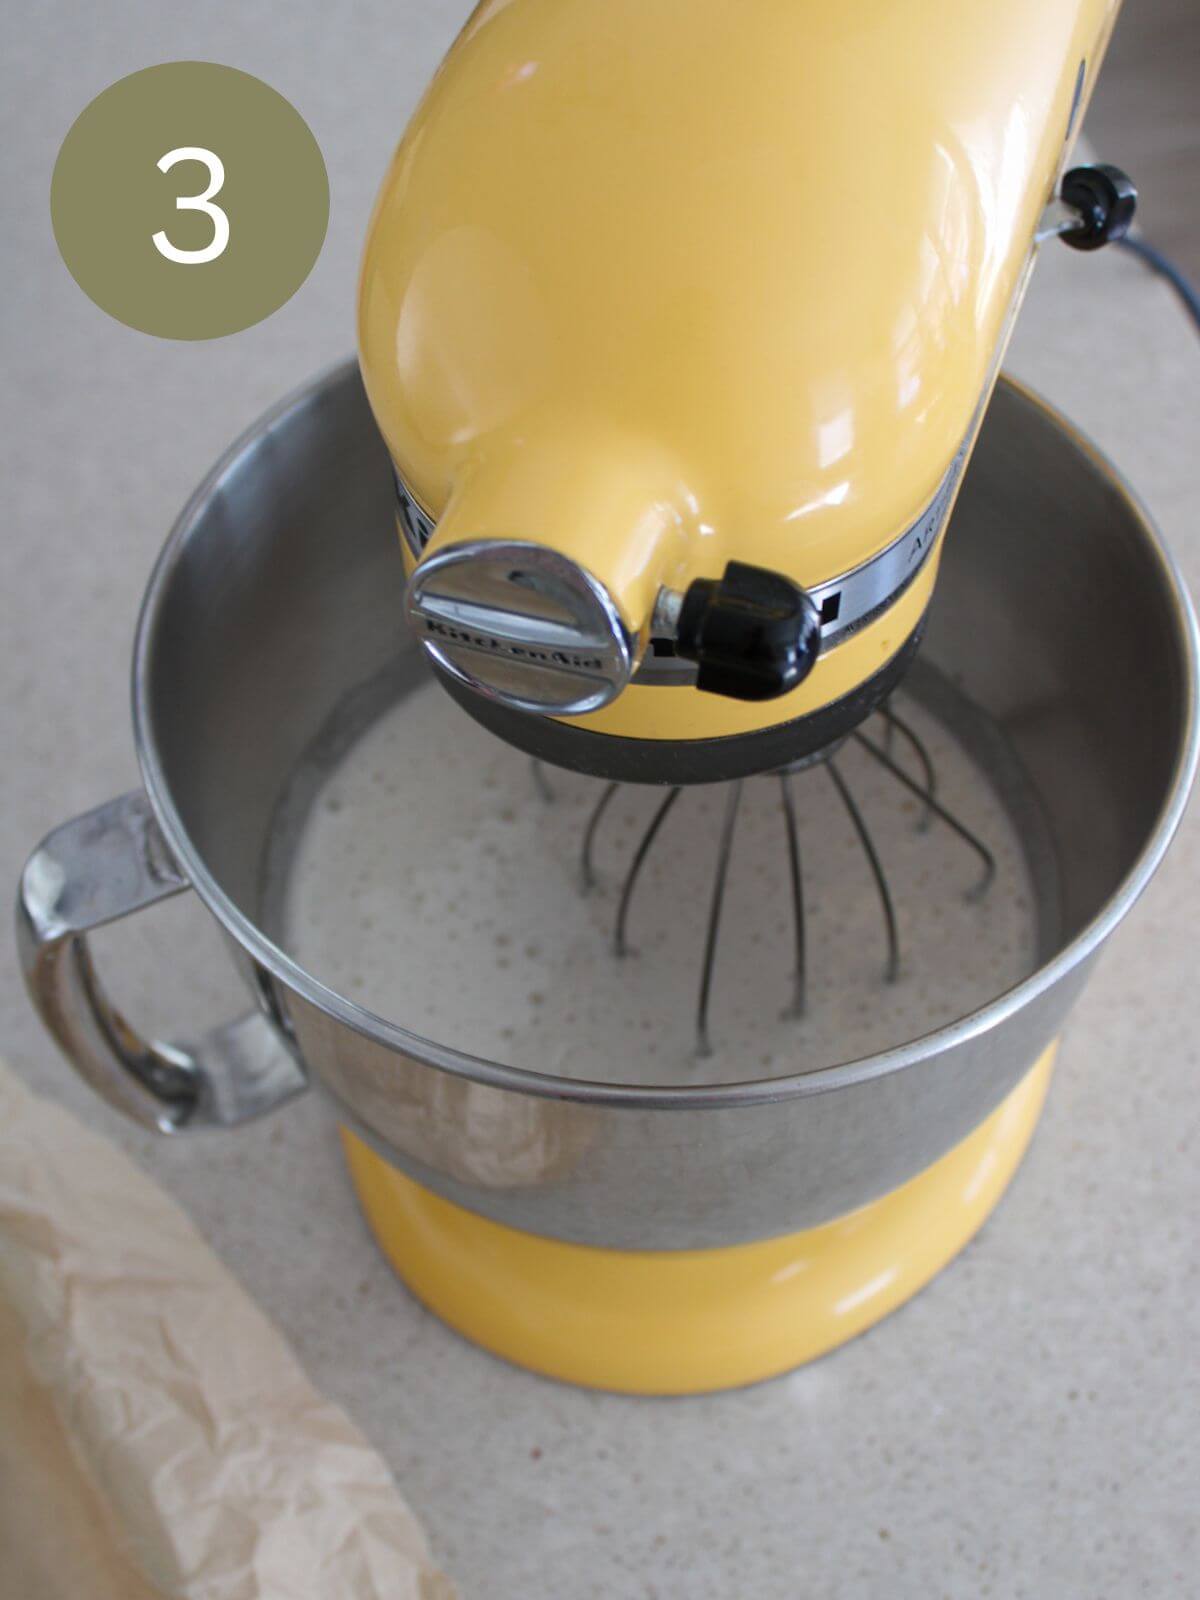
- Pour the mixture into a stand mixer fitted with the whisk attachment. Start on low, then slowly increase the speed as it begins to thicken. Watch as it turns into a fluffy, glossy marshmallow cloud! Whip for about 8–10 minutes, until it thickens and soft peaks form. During the last minute, add your vanilla extract and let it blend in beautifully.
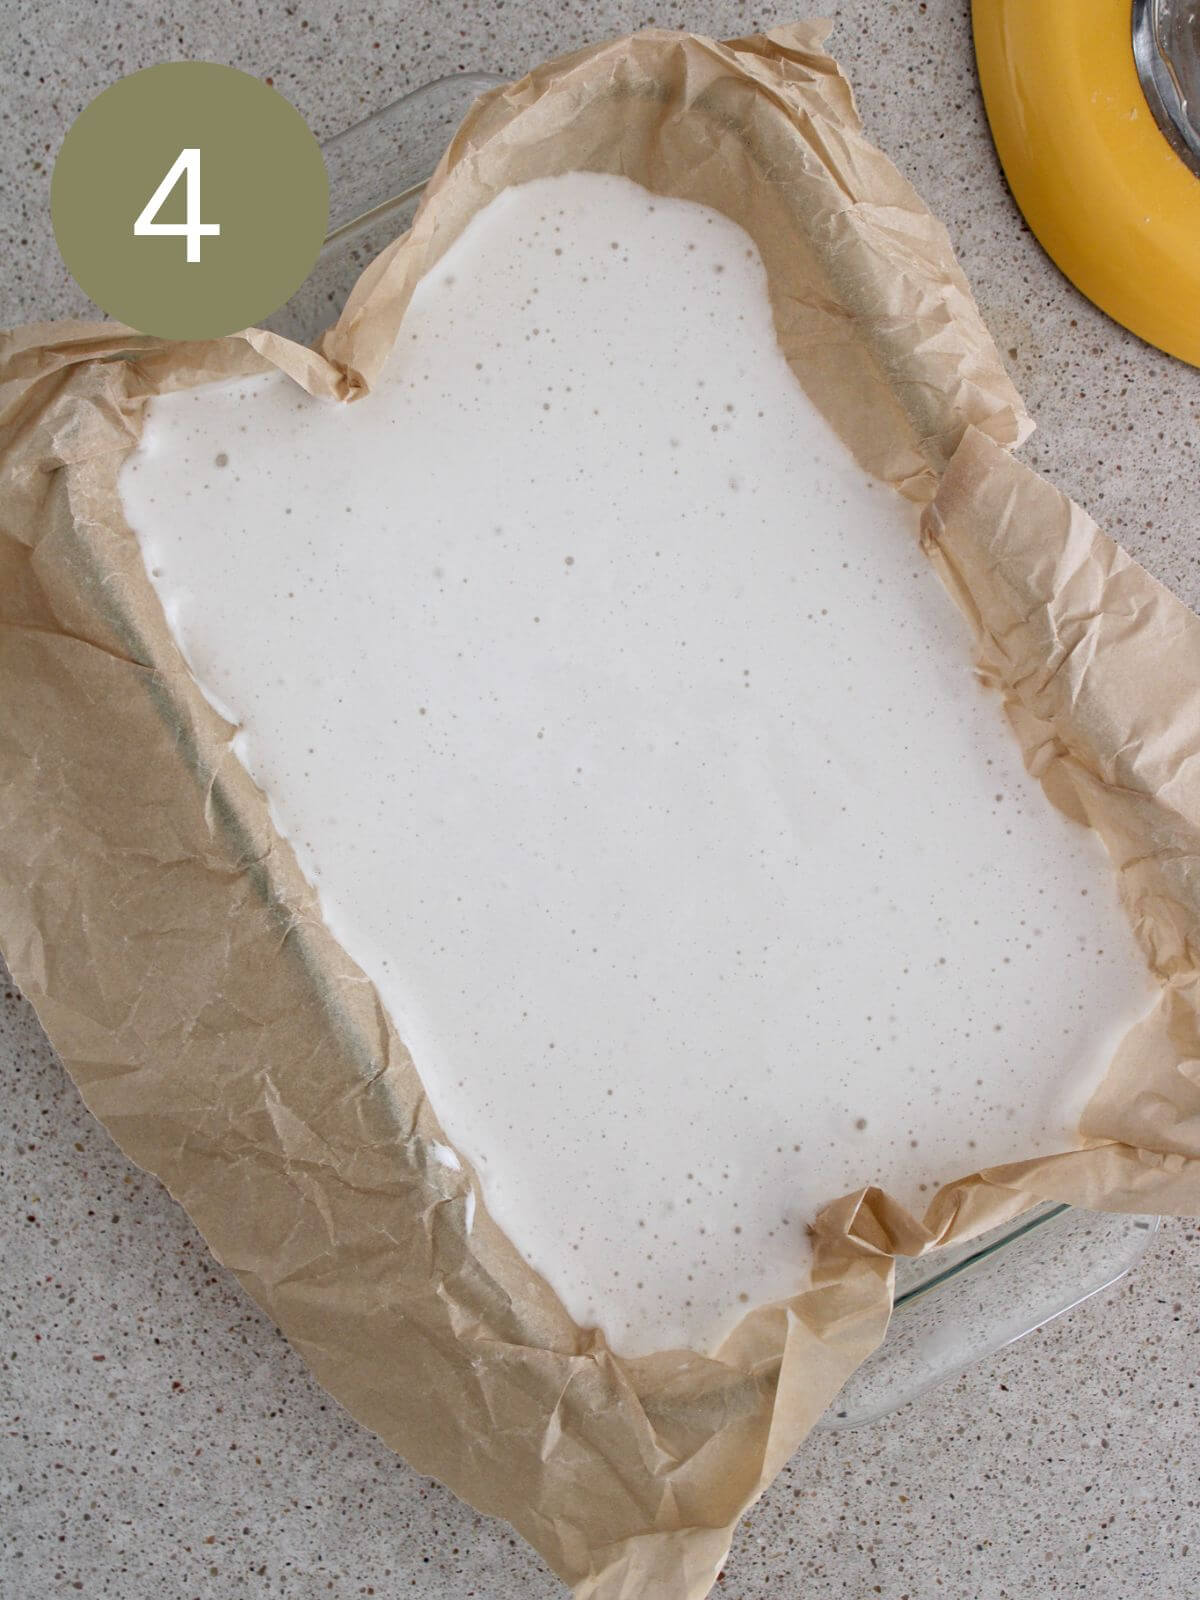
- Pour the whipped marshmallow mixture into a greased or parchment-lined pan and spread it out evenly. Work quickly here because it will start to set. Place the pan in the fridge for several hours, until the marshmallows are firm.
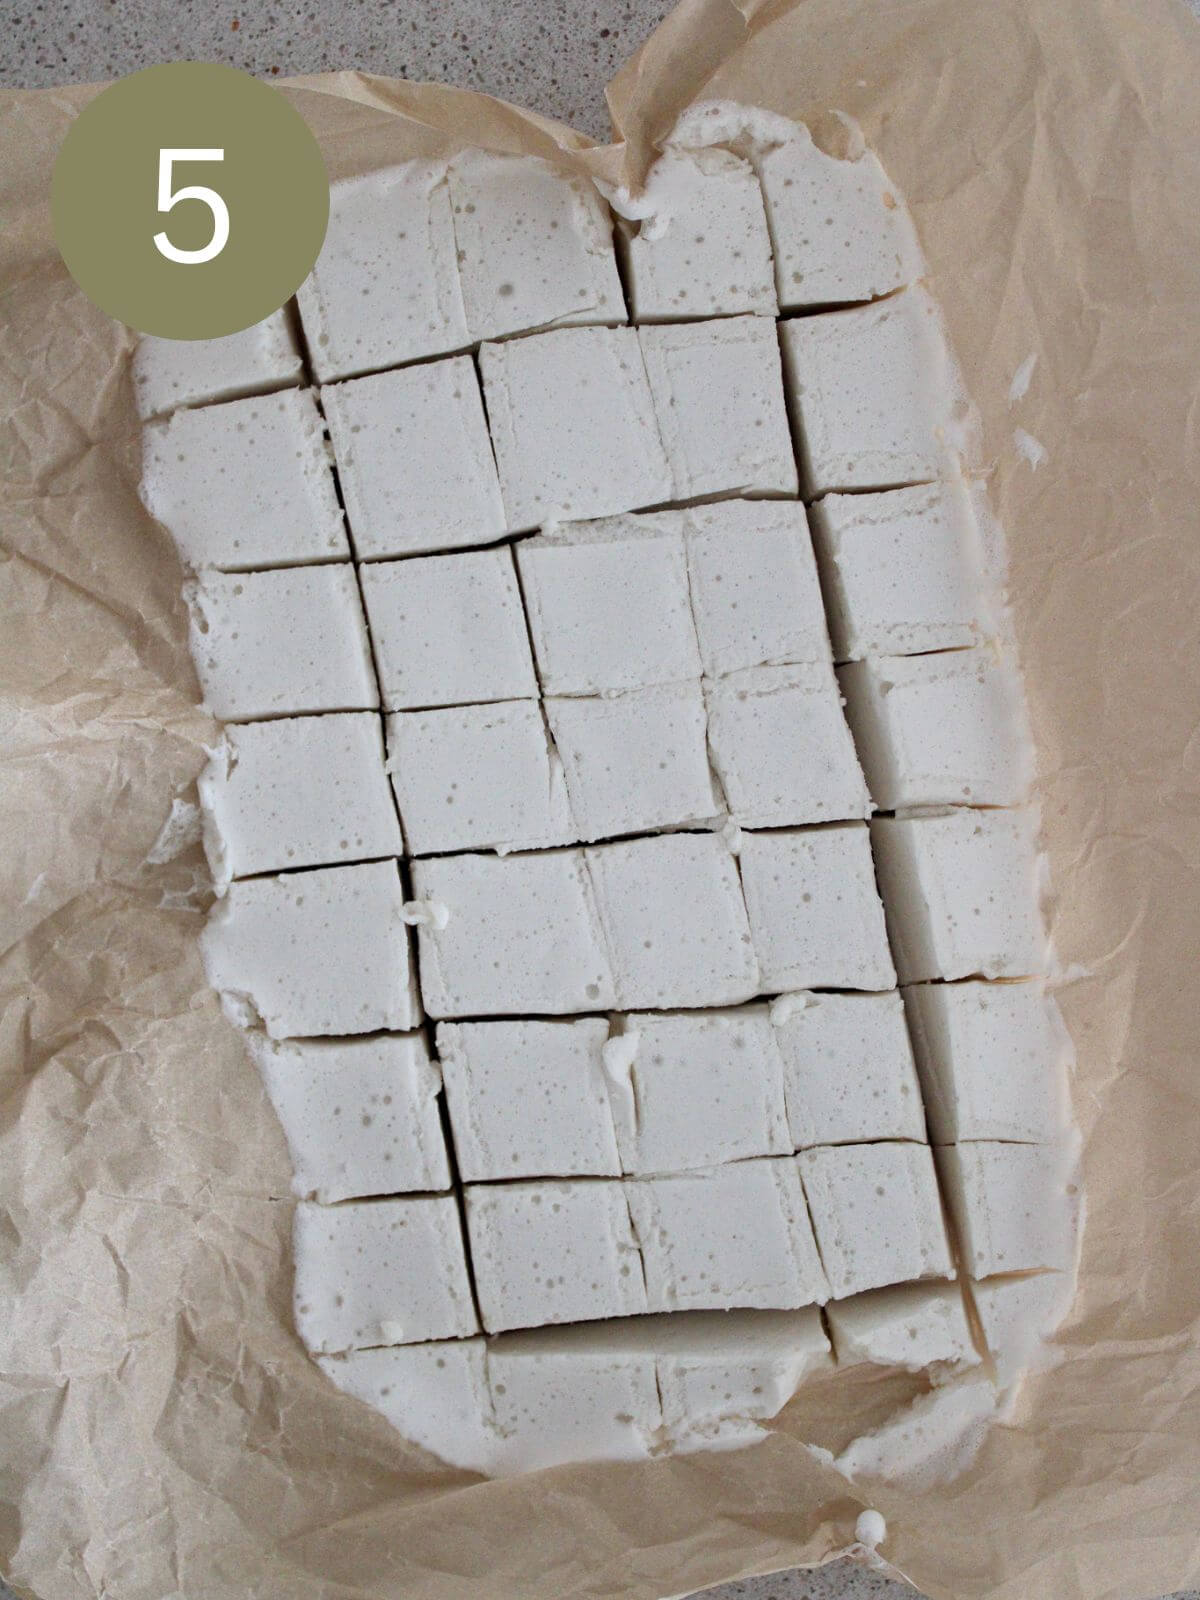
- Once set, dust the top with powdered sugar and slice into your desired shapes. Enjoy!
Recipe Tips
Prevent Stickiness: Dust the tops and sides with powdered sugar to keep them soft and not sticky. You can add some arrowroot or cornstarch into your powdered sugar mixture if you prefer.
Have Fun with Flavors: Try vanilla bean, cinnamon, peppermint, or even almond extract to make them seasonal, festive, or totally your own.
Try Swirls + Layers: Gently swirl in different flavors or colors for a pretty marbled look, or layer flavors for something extra special.
Cutting Tip: Grease your knife or dust it with powdered sugar to get clean, smooth cuts without sticking.
How to Store Marshmallows
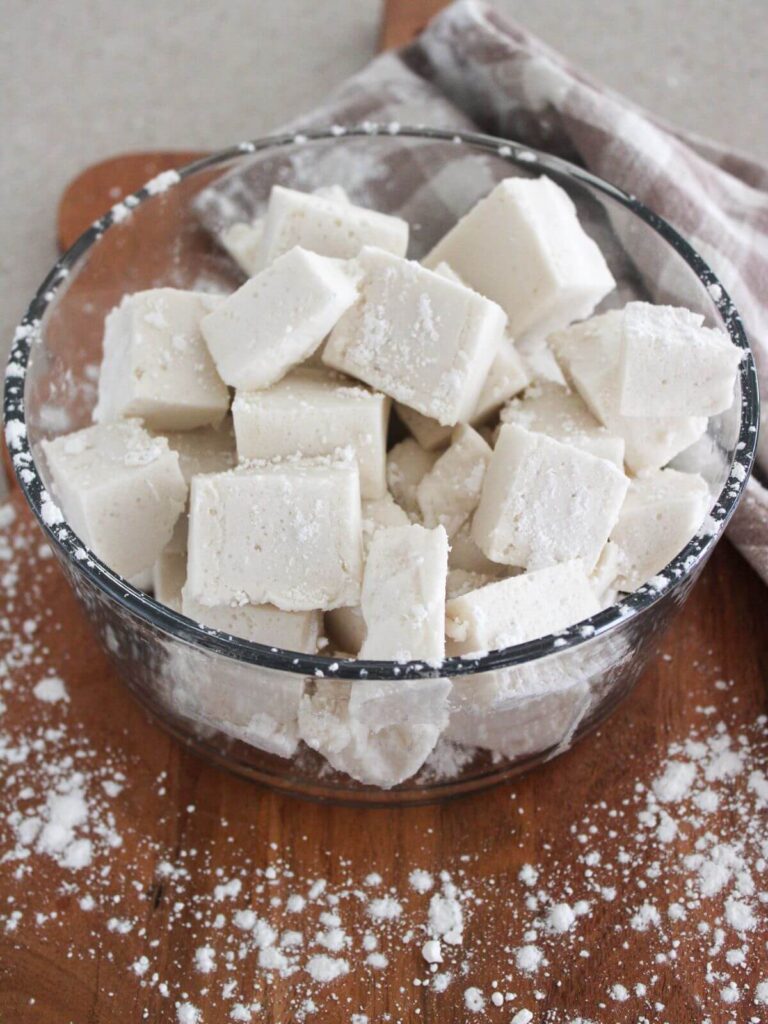
Once your marshmallows are fully set and cut, dust the sides with a little powdered sugar to help prevent sticking. Place them in an airtight container and store them in the fridge to keep them fresh, fluffy, and soft. They’ll stay delicious for several days, making them perfect for hot cocoa nights, s’mores, gifting, or sweet little treats throughout the week.
Serving Suggestions
Pair these gut-friendly marshmallows with a delicious cup of homemade hot cocoa, add it to your s’mores night, mix some into your next batch of brownies, or simply grab a few as a special little treat!
Frequently Asked Questions
More Sweet Treats You’ll Love
Gut-Friendly Marshmallows
Ingredients
- 1/2 cup water for blooming gelatin
- 1/2 cup water for syrup
- 3 tablespoons grass-fed gelatin
- 1 cup pure maple syrup or cane sugar
- 1/4 teaspoon fine sea salt
- 1 teaspoon pure vanilla extract
Instructions
- Add 1/2 cup cold water and gelatin to a medium saucepan. Whisk together, then let it sit for 5–10 minutes to bloom.
- Turn the heat to medium and warm the mixture until it becomes liquid. Add cane sugar (or maple syrup) and salt, whisking until everything is fully dissolved and smooth.
- Pour the mixture into a stand mixer fitted with the whisk attachment. Start on low and gradually increase the speed as it thickens. Whip for 8–10 minutes until it becomes thick, fluffy, and glossy with soft peaks. During the last minute, add vanilla.
- Quickly pour the marshmallow mixture into a greased or parchment-lined pan and smooth the top. Place in the fridge for several hours, until firm.
- Once set, dust the top with powdered sugar. Remove from the pan, dust the sides, and cut into squares or fun shapes. Enjoy!
Notes
- Dust marshmallows with powdered sugar to prevent sticking.
- Maple syrup creates a richer, deeper flavor; cane sugar gives that light, classic marshmallow taste.
- These melt beautifully in hot cocoa and toast perfectly for s’mores.
- Store in an airtight container in the fridge for several days
Did you make this recipe?
I’d love to see! Tag @simplychelseahome on Instagram and leave a comment below!!