This post may contain affiliate links, please read my disclosure policy for details.
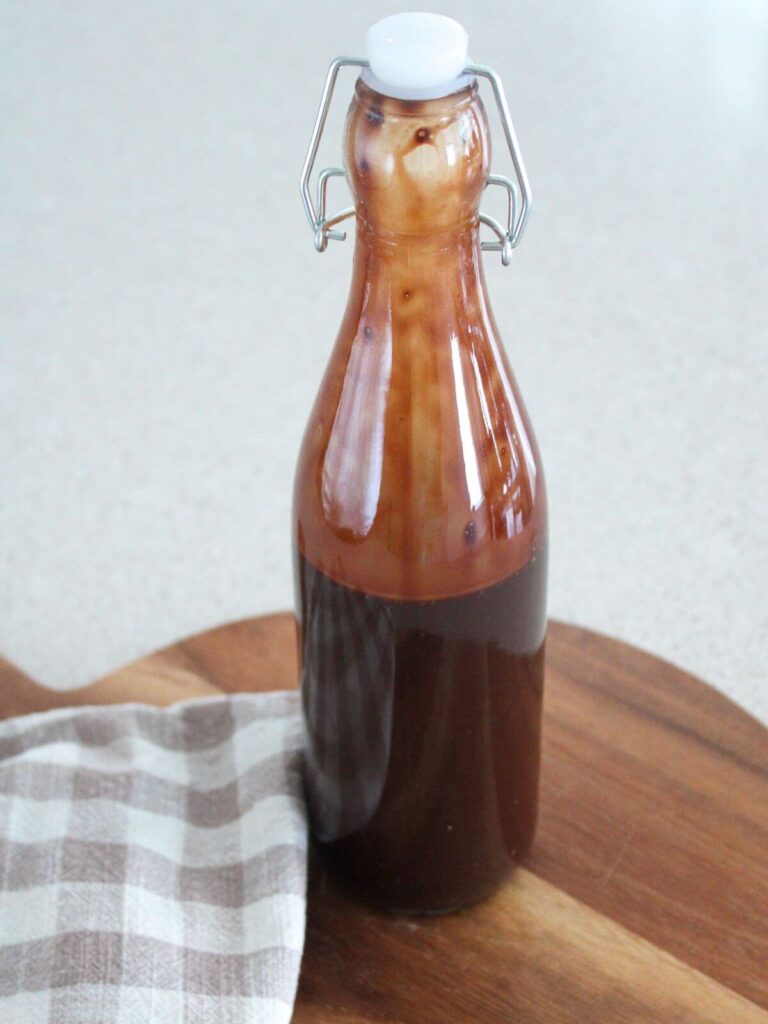
Elevate your desserts and drinks with this Simple Homemade Chocolate Syrup that’s rich, indulgent, and free from preservatives. With just a few simple pantry staples, you can whip up this easy, irresistible recipe in no time!

As a mama focused on nourishing my family with wholesome, real ingredients, I wanted to create a chocolate syrup recipe that skips the chemicals and gives us a guilt-free way to enjoy a classic favorite. Homemade chocolate syrup is not only quick and simple to make, but it also puts you in control of what goes into it. I love knowing that every spoonful is made from pure ingredients- especially since my boys consume it daily. I hope this recipe brings as much joy to your family as it has to mine. Let’s get started!
Why You’ll Love This Recipe
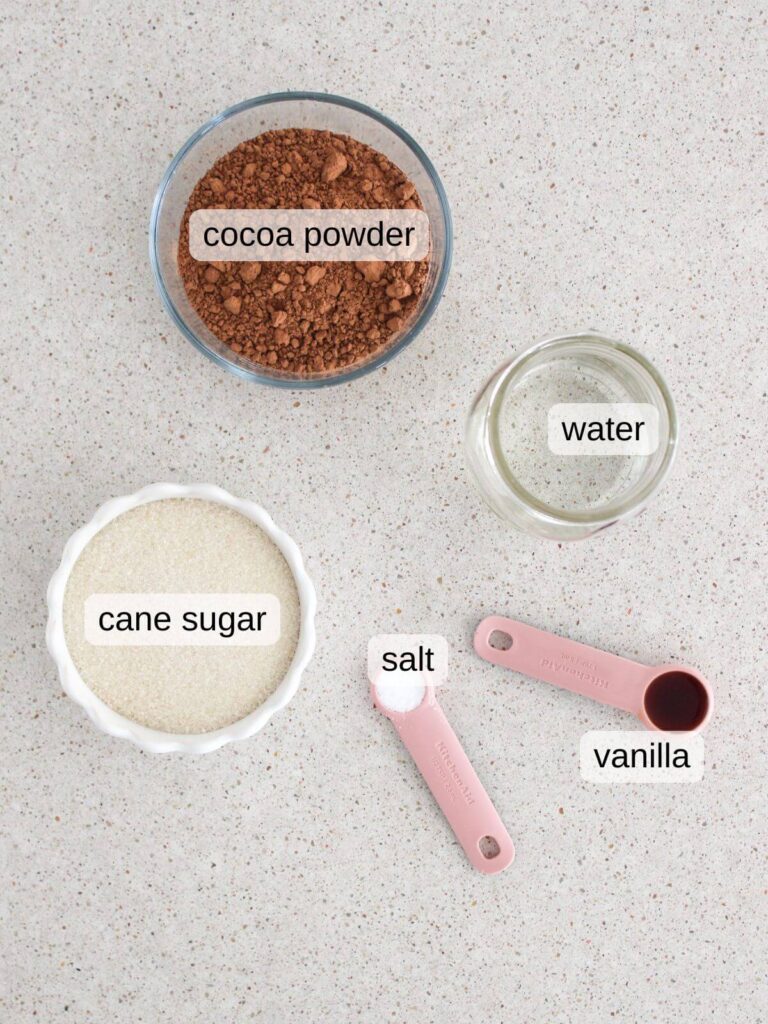
Ingredients Breakdown
Tools
- Saucepan
- Whisk
How to Make Simple Homemade Chocolate Syrup
Please see the recipe card at the bottom of this post for the full recipe details.
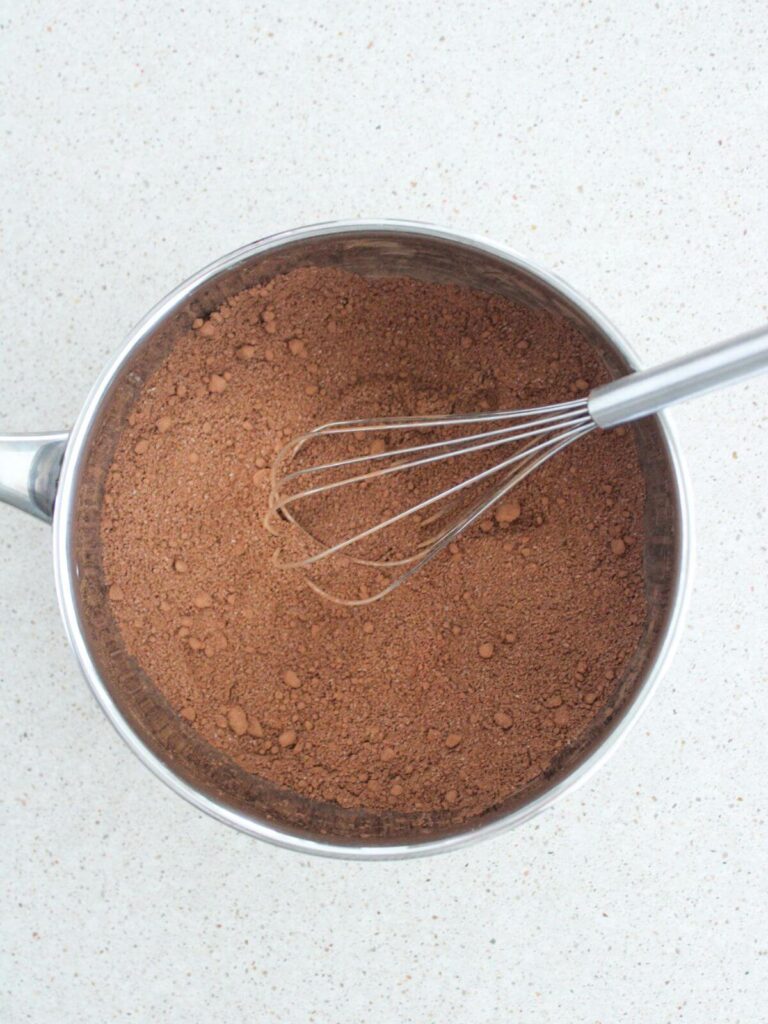
1. Whisk Dry Ingredients
In a medium saucepan, whisk together cocoa powder, cane sugar, and salt. Break up any clumps so your chocolate syrup will be smooth.
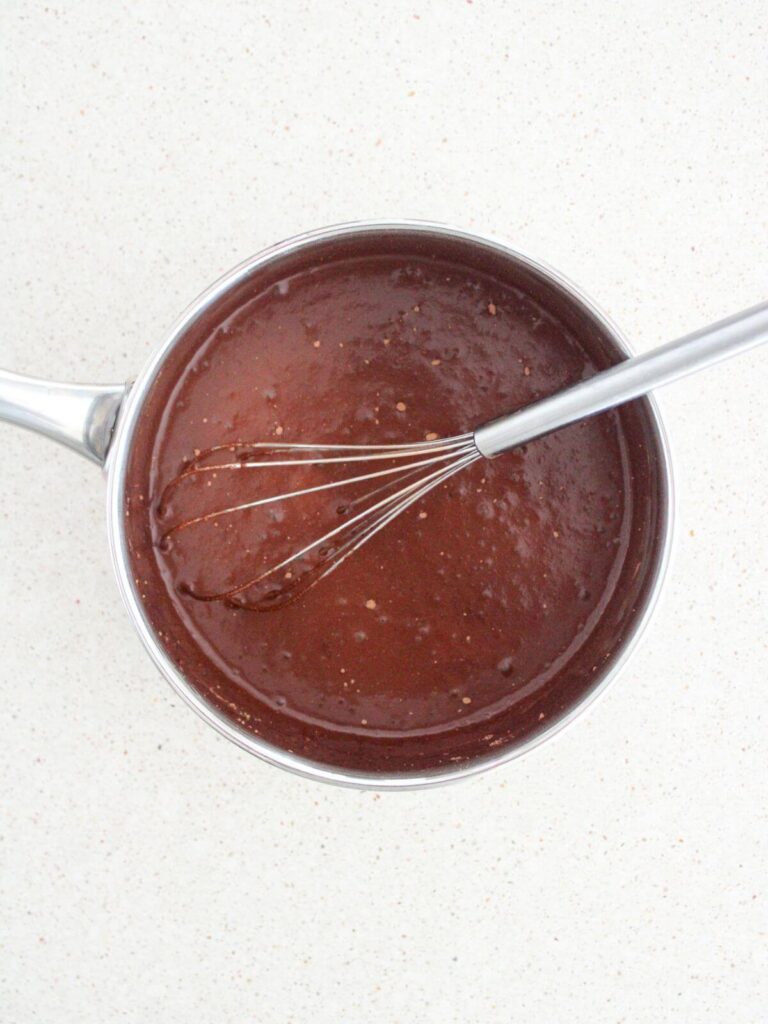
2. Add Water Slowly
While whisking continuously, slowly pour in the water. This helps dissolve the cocoa and sugar without lumps.

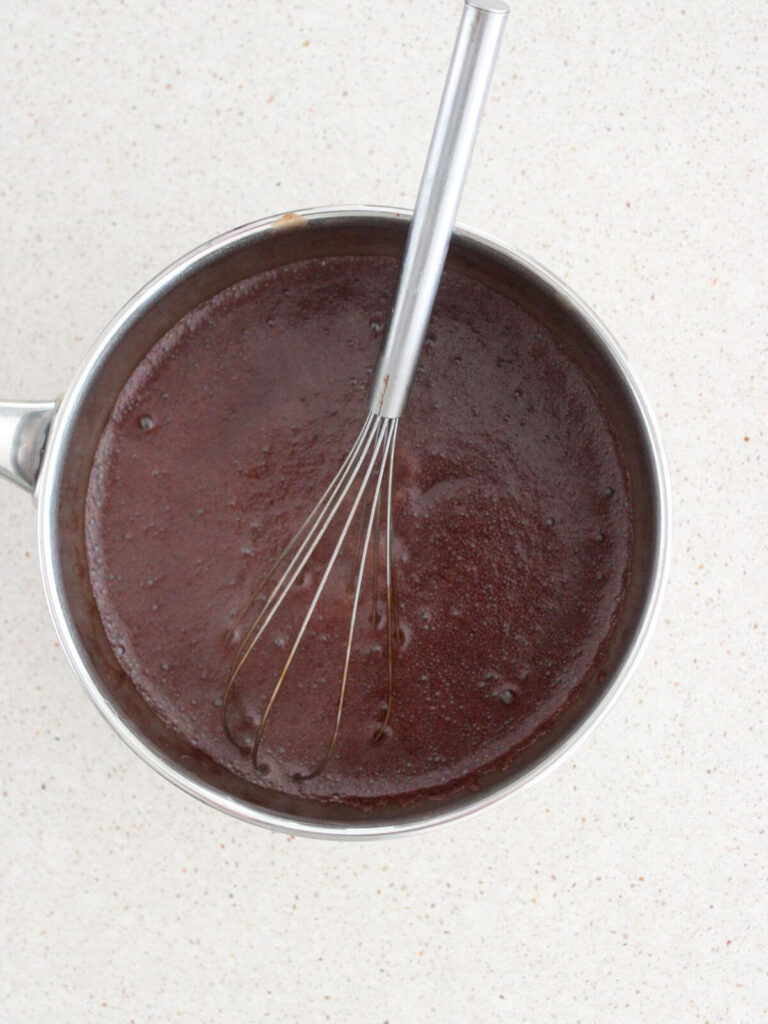
3. Heat to a Simmer
Place the pan over medium heat. Stir frequently as the mixture heats up. Once it reaches a boil, stir constantly for a couple of minutes to thicken.
4. Stir in Vanilla
Remove from heat and add the vanilla extract. Stir well to deepen the flavor.
5. Cool & Store
Let your chocolate syrup cool to room temperature, then transfer to a clean jar. Store in the fridge for up to two weeks.
Recipe Tips
Feel free to experiment with the amount of sugar or cocoa powder to suit your taste preferences.
For a flavored chocolate syrup, consider adding a hint of cinnamon, a splash of espresso, or even a pinch of cayenne pepper for a spicy kick.
Try using maple syrup or coconut sugar for an even healthier option. Both of these can be used with the same measurement.
Serving Suggestions
- Drizzle over vanilla ice cream for a classic hot fudge-style dessert at home.
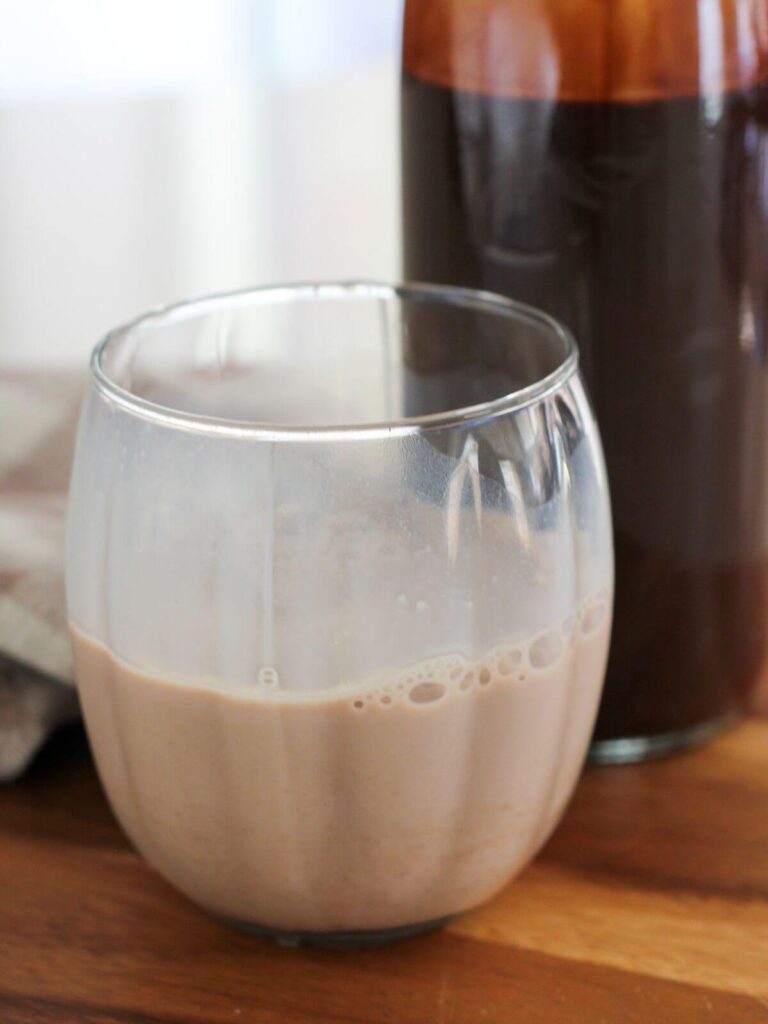
- Stir into warm milk to make homemade hot chocolate without artificial ingredients.
- Add to iced coffee or lattes for an easy homemade mocha.
- Pour over pancakes or waffles as a fun alternative to maple syrup.
- Swirl into Greek yogurt with berries for a high-protein chocolate treat.
- Drizzle over fresh fruit like strawberries or bananas for a simple, wholesome dessert.
- Top whipped cream or homemade brownies for an extra chocolate finish.
Frequently Asked Questions
More Simple Basics Recipes You’ll Love
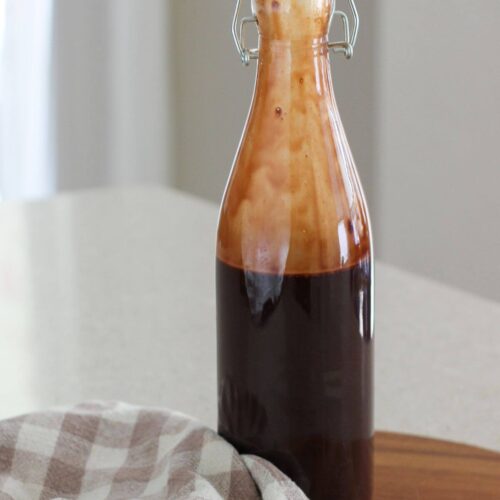
Homemade Chocolate Syrup
Ingredients
- 1 cup water
- 3/4 cup cocoa powder
- 1 cup cane sugar
- 1/2 tsp salt
- 1 tsp vanilla
Instructions
- In a medium saucepan, whisk together the cocoa powder, cane sugar, and salt. Break up any clumps in the cocoa powder to ensure a smooth syrup.
- Slowly add the water to the dry ingredients while whisking continuously. Keep whisking until the mixture is fully combined and smooth.
- Place the saucepan over medium heat and bring the mixture to a boil. Stir frequently to avoid burning or sticking. Once it reaches a boil, stir constantly for 2-3 minutes to thicken.
- Remove the saucepan from heat and stir in the vanilla extract.
- Let the syrup cool to room temperature in the saucepan. Once cooled, transfer it to a clean jar or container with a lid.
Notes
- Store in the refrigerator for up to two weeks.
- Stir or shake before using as it may settle over time.
Did you make this recipe?
I’d love to see! Tag @simplychelseahome on Instagram and leave a comment below!!


This looks so delicious!
I appreciate how detailed you are with the troubleshooting questions to get the recipe just right! Thank you for sharing, excited for more yummy recipes!
Thank you so much for your kind feedback! I hope you enjoy 🙂
Looks so yummy! Can’t wait to try it!
I hope you enjoy! It is a weekly staple in our home! Thank you!